96 Maple Street

96 Maple Street
Before...

96 Maple Street

96 Maple Street
And after...

Friday, June 13, 2014

We are on the move again...

Originally, this blog served to document the initial restoration of our home. As you may have noticed, there have not been any updates for a few years. That does not mean, however, that we have not continued the process of working on our home.

Recently, a house we have always admired came onto the market, and after visiting it a couple of times, we have decided to move once again.

This, of course, means our beautiful home is now for sale, so we decided it might be wise to update the blog with all of our recent additions.

In spring of 2012, we expanded one of the master bedroom closets and added a room of custom cabinetry. This was such a wonderful addition...we can access our bedroom and bathroom directly form this space.


At that same time, we added custom built ins on either side of the fireplace in the family room. We redesigned the fireplace mantle/surround to coordinate with the built ins as well. It is difficult to see in the photo, but we used leaded glass in the cabinet doors.


In spring of 2013, we added a screened-in porch off of the family room. This has proven to be one of our most-used spaces. We LIVE in this room. You may remember the custom screen doors we had made for the French doors in the family room. These were incorporated into the design of the porch. They look as though they were made for this purpose. We also added the ceiling detail to allow for as much natural light as possible. It ties in nicely with the glass in the kitchen.


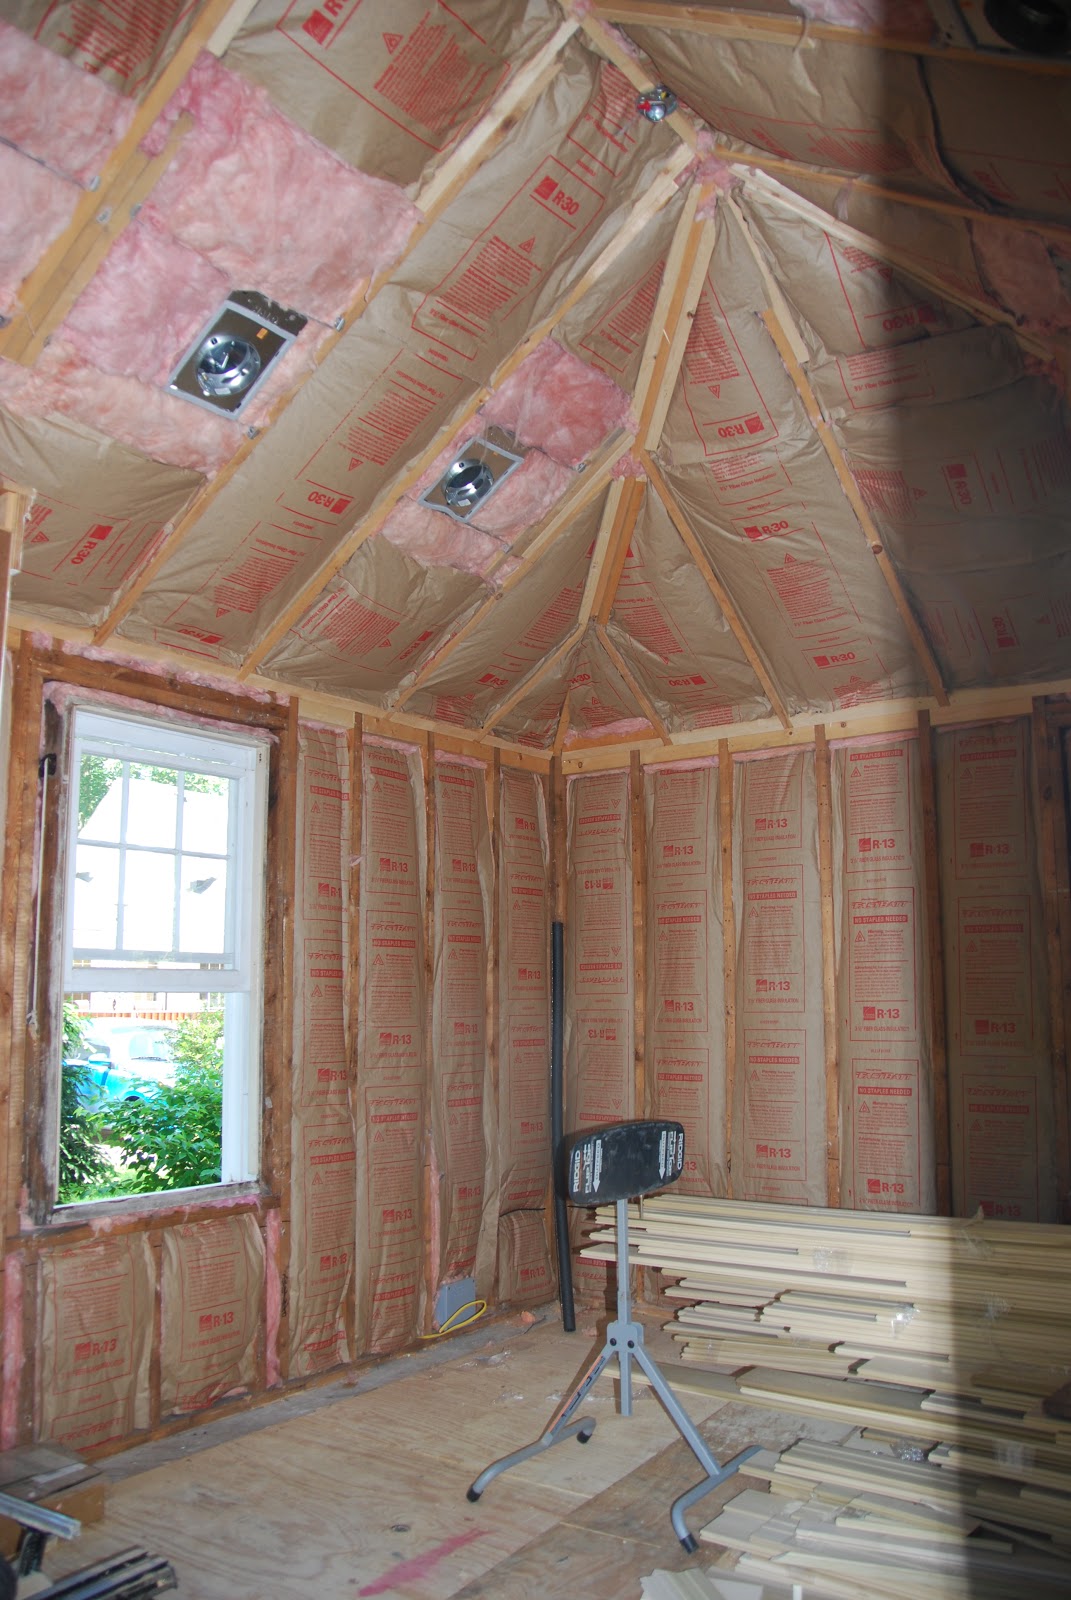
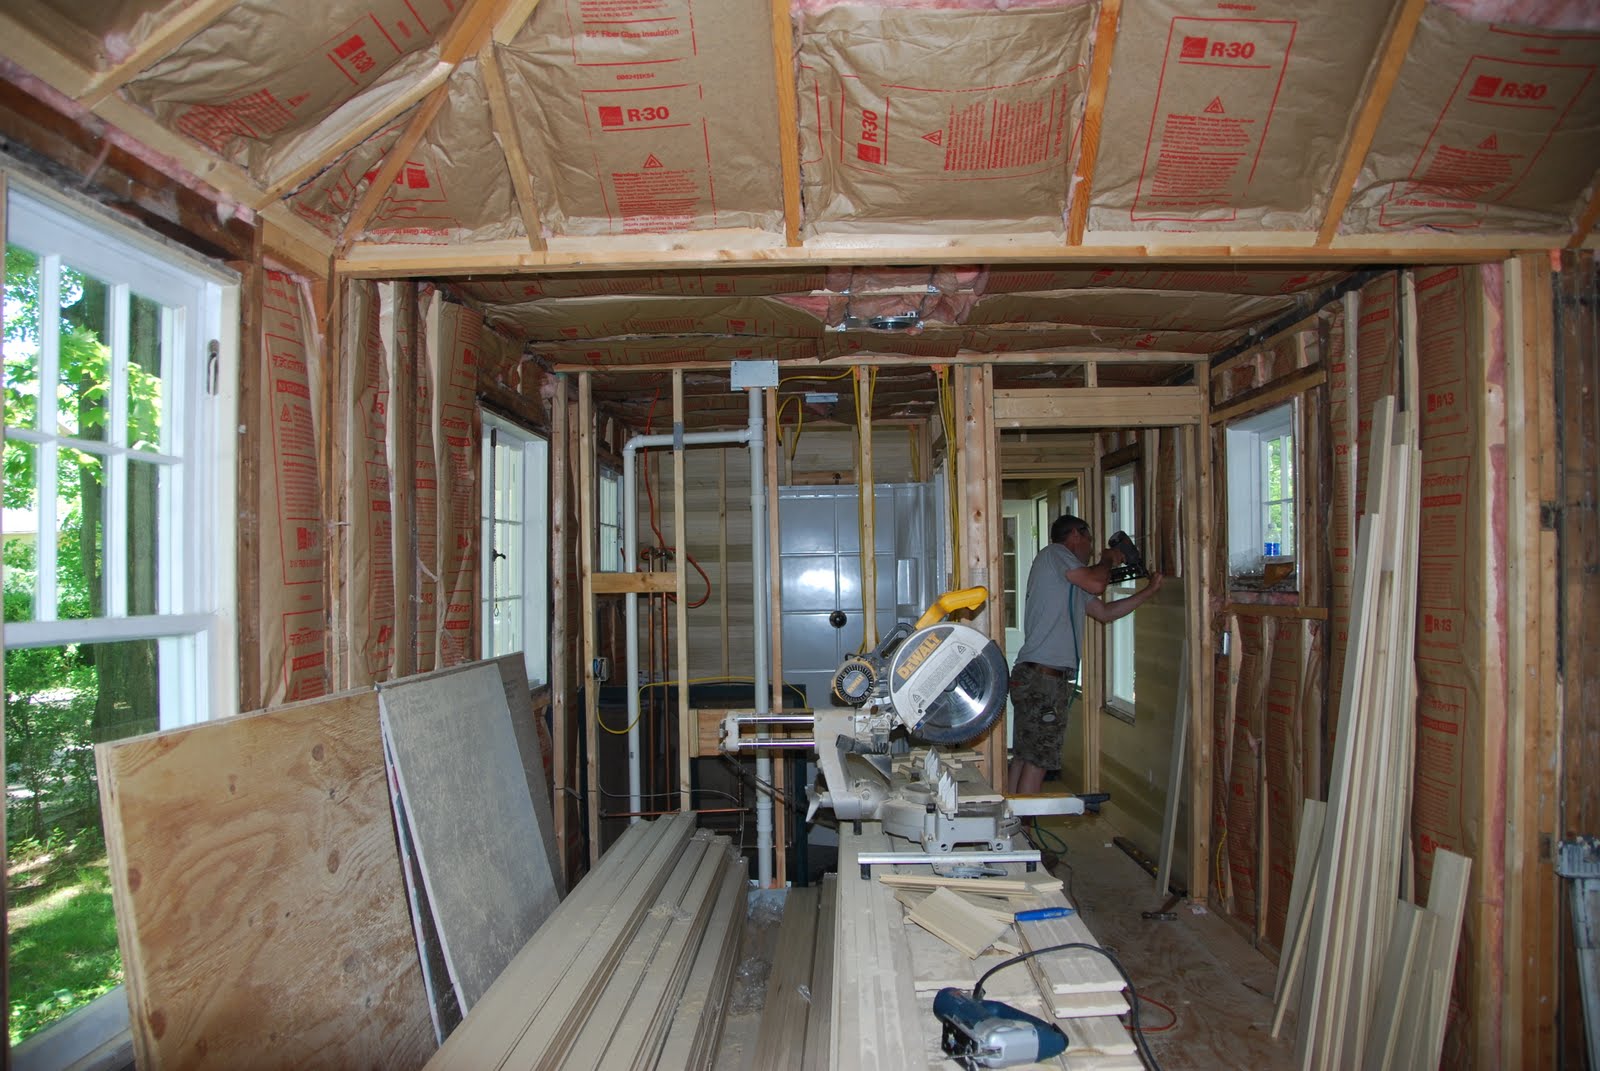
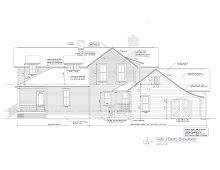
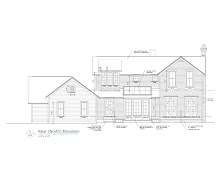
At this same time, we added five feet to the rear of our garage. When we originally built the garage, we were accommodating two Mini Coopers. Our lives have changed, as we now have three drivers in the family, and the Mini Coopers are long gone. The additional space has provided us a three-car garage. 


We also had the front porch floor restored. What a nice surprise it was to discover the wood was mahogany. You'll notice in the photo, we had one of the front doors removed and replace the remaining door with one to match the side entrance.


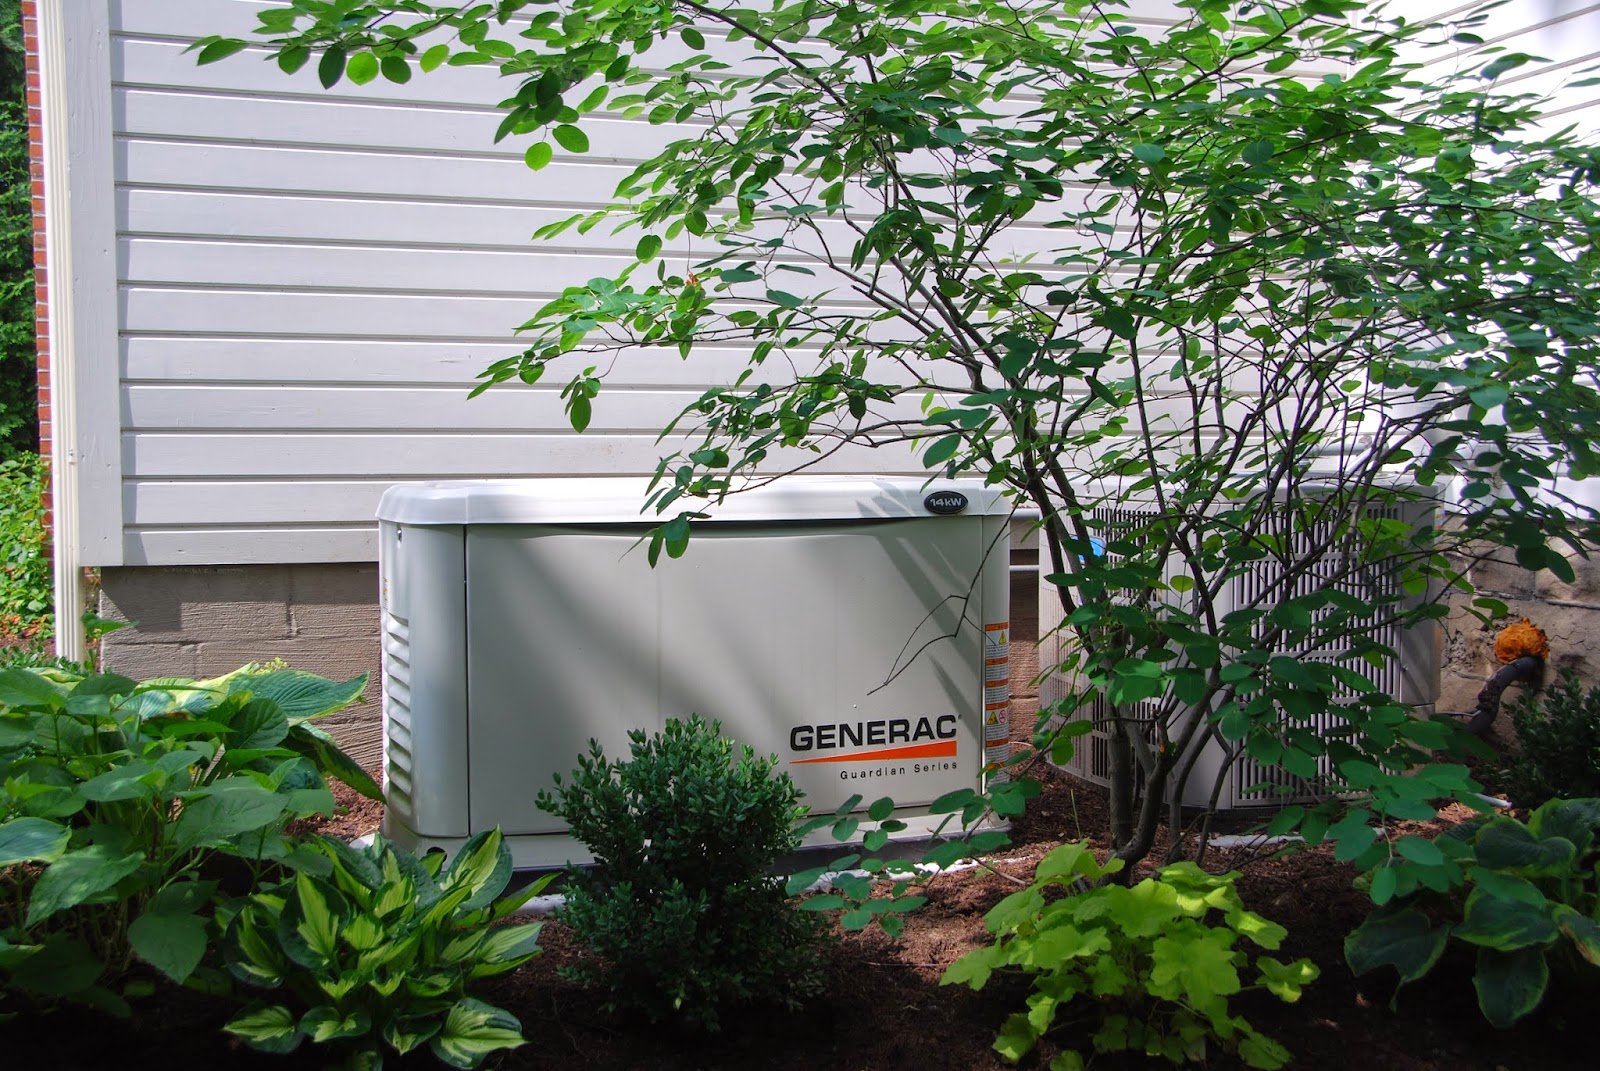
Most recently, we had a whole-house generator installed. It never crossed our minds back in March that we might be moving soon. Now we're just hoping for one power outage before we go.

Finally, the landscaping is a continual journey...I am particularly proud of my wisteria around the carriage door.

And the cottage is looking good as well. We had two huge Norway Spruces removed last fall and that really opened the yard up to light.

So there you have it...the majority of our work


Tuesday, August 16, 2011

Ready for visitors...


Needless to say, we have each stolen a few moments alone in the cottage. It really is a peaceful retreat. 


Almost there...

John, Emma, Audrey and I left for vacation before the cottage was totally complete - probably a testament to our trust in Craig. Craig oversaw the final fabrication and installation of the cabinets, including one in the bathroom, which houses the hot water heater. He also coordinated with our painter, Fred Hopkins, who painted all the walls, ceilings, cabinets, doors etc. John and I had this crazy notion that we could do this work ourselves...a deja vu for anyone who followed the house renovation. Anyway, we came to our senses just in time, again. Fred was awesome. He put two coats on everything, protected our newly finished floors, and sealed the cabinet interiors. He finished just prior to our return, which allowed Craig enough time to hang the bamboo shades I had ordered before we left. It was such a treat to come home and find the cottage ready to decorate.

On a happier note...

In spring of this year, we were fortunate to make the acquaintance of Craig Blake from Earth and Arbor Construction. After working with Craig on a couple of small projects, we decided he would be perfect to finish the cottage for us. He is hard-working, easy to get along with, and above all, honest.

Craig began working on the cottage in April, 2011. His initial task was to get the mechanicals (electrical & plumbing) rolling.

Following mechanicals, the insulation was installed.


John and I decided we wanted a tongue and groove material for the walls and ceiling. We chose a 5.25 inch width poplar for the walls and a 3.25 inch poplar for the ceiling. Our plan was to paint everything white. Craig brought in Adam Pealer to do the carpenter work. Adam was great! His attention to detail, even for our little cottage, was remarkable. Adam worked diligently to get the tongue and groove installed. Craig and Adam even joined forces to move the material faster so that Audrey could have her birthday party sleepover in the cottage. Talk about above and beyond...


Initially, I planned to put terra cotta tiles on the floor and Adam was going to be the one to lay the tiles as well. After several discussions with Adam, however, we decided terra cotta tiles may not be the best solution. With all the moisture in the cottage and the irregular nature of the tiles, he thought we would ultimately be very unhappy with the performance of the terra cotta. We decided hard wood was a better, more stable solution. John and I chose a 7 inch quarter sewn, white oak from Sheoga Flooring in Middlefield. Adam installed the wood flooring as well.

Adam proved to be such a good carpenter, we asked him to make the cabinets for the cottage too. He seemed to have a good grasp of the look for which we were searching. We wanted it to seem like a cottage, maybe the cabinets had been added over the years - no bells and whistles, but good quality. We are very pleased with the result. The photos below show the cabinets prior to door installation, but you can see the hardwood flooring before it was finished.


Craig and I discussed countertop options. We had such a small, sink nook to work with, we felt the sky was the limit on what we could use. We thought about concrete or copper, but in the end, we decided upon walnut countertops. A good choice indeed! Craig worked with his supplier to get us a beautiful (not inexpensive, however) piece and Craig and Adam installed it. I found a food-safe protective coating material to put on and the finish is wonderful. The finish is similar to that of a wooden salad bowl. The richness of the walnut was really enhanced without adding an oily or plastic feel.


A bump in the road...

For those of you who have been following our blog, you know I have tried to refrain from using this as a forum to complain. Aside from my one rant about the woman who did not like our wood roof, I have not said anything bad about anyone...and I will not start now. BUT suffice it to say, our house project did not end on a good note. After several dealings with an attorney, and much disappointment in our fellow human being's behavior, we decided to take a break. Work on the cottage would have to wait.

Cottage work begins...

We actually began the initial rough work on the cottage in May of last year (2010), while completing the final stages of the house. This was most logical since the dumpster was still on site. 

Fortunately, most of the cottage interior had been removed before we even bought the property. Our carpenters, Mike and Tom Peters, worked to reframe the interior, restore the windows to working order (reglazed, new weights & ropes added), and preparing the crawl space for a concrete vapor barrier. 

The rough plumbing was also added at this time.


The projects never end...

You may remember when we purchased our Maple Street house, one of the reasons we liked this property so much was the quaint little cottage in the backyard. Since we did not intend to include a "guest room" in our house plans, the cottage seemed like the perfect guest retreat. Initially our thought was to wait a while before finishing the cottage, but those who know us well, know that was not likely to happen.

Let me refresh your memory as to the exterior of the cottage.